These two demos are the only ones in the series that process external input. One takes images, one takes live video. They’re also the only ones where a canvas element sneaks into the pipeline. The output still goes entirely to checkboxes; the canvas is just the fastest way to sample pixel data from a source that the browser won’t otherwise let you read directly.
The underlying algorithm in both cases is the same: Floyd-Steinberg error diffusion.
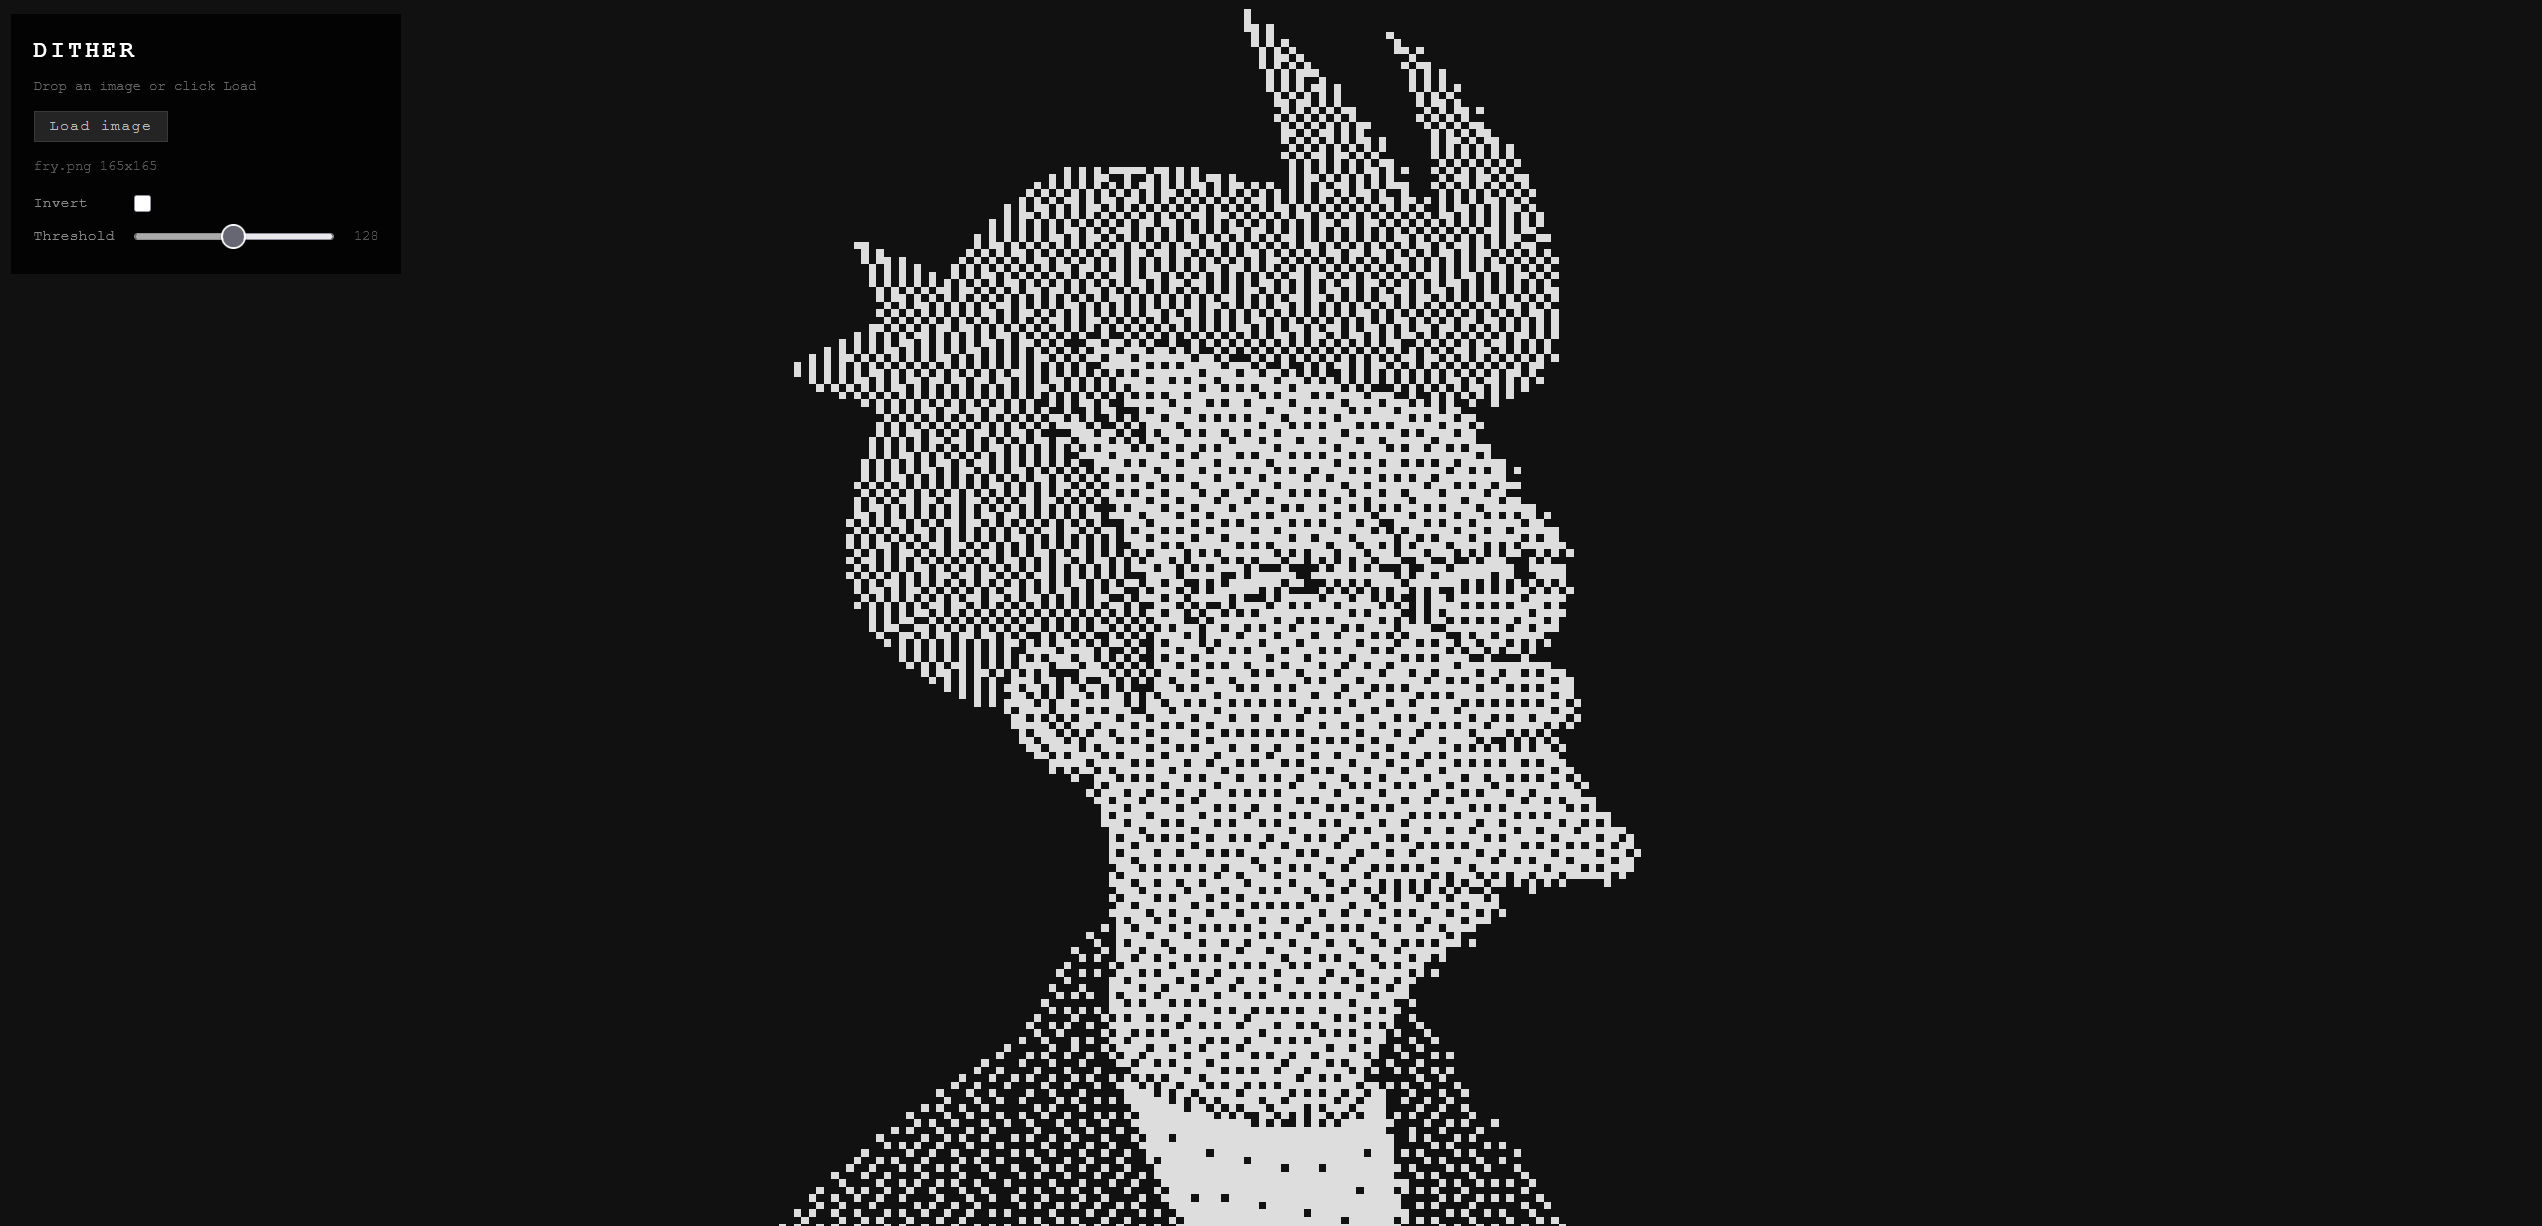
Dither (interactive) Link to heading
Drag and drop any image file onto the page. The pipeline:
- Draw the image to an offscreen canvas scaled to fit the current grid dimensions.
- Read the pixel data with
getImageData(). - Convert each pixel to grayscale using the standard luminance formula (
0.299R + 0.587G + 0.114B). - Run Floyd-Steinberg over the grayscale buffer.
- Write the 1-bit result to the checkbox grid: checked = bright, unchecked = dark.
Animated GIFs, APNGs, and animated WebPs work. The browser decodes each frame to the canvas element, which the demo samples on each animation frame, so you get the animation at checkbox resolution.
The results are better than they should be. Portrait photos with good contrast come out recognizable. Logos with hard edges come out almost clean. You can tell what things are. Everything runs locally in your browser. Your image is never uploaded anywhere — if you want proof, the source is on GitHub.
Webcam (Dither Cam) (interactive) Link to heading
Requires a webcam. The same Floyd-Steinberg pipeline, but the image source is your camera instead of a file. Each animation frame, the live video feed is drawn to an offscreen canvas, pixel data is read, error diffusion runs, and the result goes to the grid. At default checkbox size (6px) you get around 30fps on a modern laptop.
Nothing is recorded or transmitted. The feed never leaves your machine — source here if you don’t take my word for it.
The HUD has four controls:
- Start/stop: requests camera permission and starts the feed. The browser will prompt for permission the first time.
- Mirror: flips the image horizontally. On by default because unmirrored webcam video looks wrong when you’re also the subject and expect mirror behavior.
- Invert: flips checked and unchecked. Dark background becomes lit, lit becomes dark. Depends on your lighting whether this looks better.
- Threshold: adjusts the quantization point. Default 128 (midpoint). Lower values produce sparser output (darker overall), higher values produce denser output (lighter overall). Useful for adjusting to the ambient light level.
The scroll-to-zoom behavior from the other demos also works here. Scroll down to shrink the checkboxes, which increases resolution at the cost of DOM element count and performance. At 4px checkboxes you can fit a lot of cells on screen. At 16px it’s coarse but fast.
How Floyd-Steinberg Works Link to heading
You want to convert a grayscale image to 1-bit. The naive approach is a threshold: pixels above 128 become white, below become black. It works but looks terrible. Harsh posterization, no detail in gradients.
Floyd-Steinberg is better. Process pixels left to right, top to bottom. For each pixel, snap it to the nearest value (0 or 255). Calculate the error (the difference between what you wanted and what you got). Distribute that error to neighboring pixels that haven’t been processed yet:
            pixel   7/16
3/16  5/16  1/16
The quantization error propagates forward and down, so subsequent pixels compensate for the rounding that already happened. The result is a dithered image where the density of lit dots in any region approximates the original grayscale value. Human visual perception integrates those dots back into the appearance of a continuous tone.
It was described by Robert Floyd and Louis Steinberg in 1976. It still works better than most things people have invented since.
Part of the Checkbox Canvas series. See also: Simulations, Visual Effects, Games.